How to Convert a Live Photo to a Video on iPhone
Updated August 18, 2026
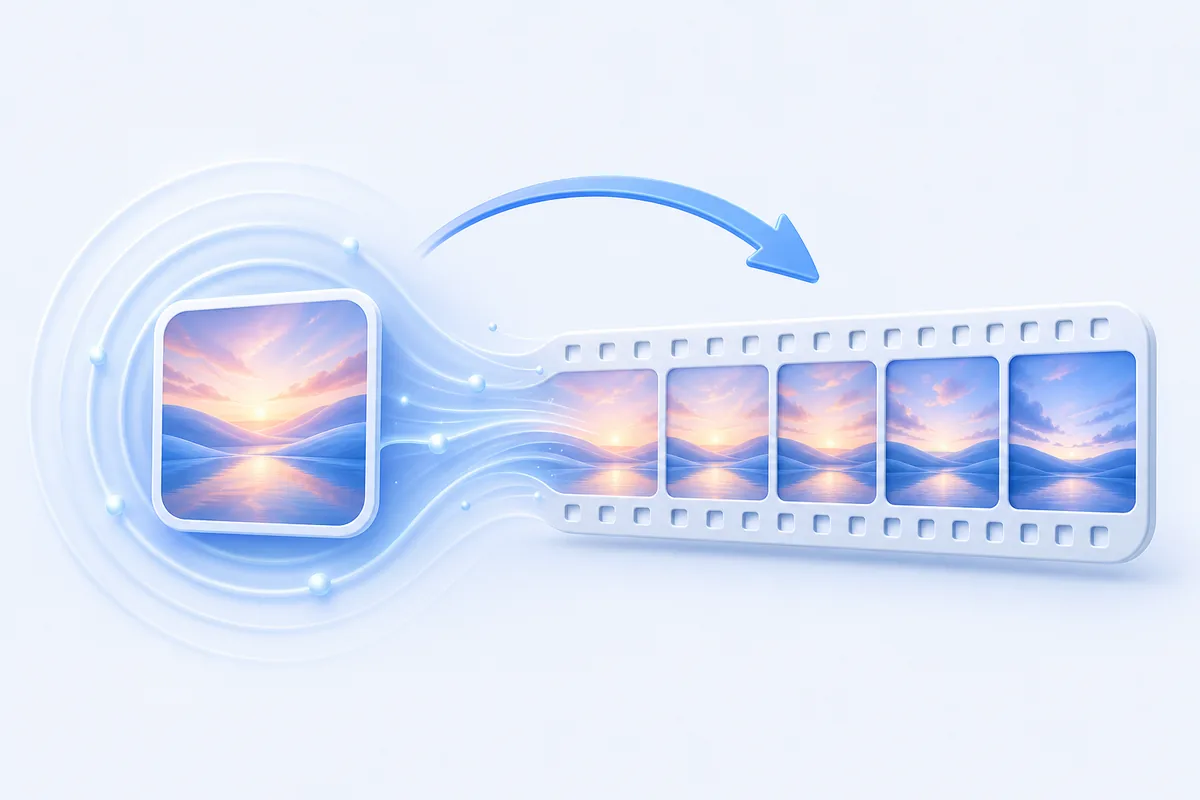
iOS can do this on its own: open the Photos app, select the Live Photo, tap Share, and choose Save as Video — a normal video file lands in your camera roll a second later, sound and all. No app, no upload, and the original Live Photo stays where it was. Below are four routes, including what to do when the option isn't there, and how to go the other way when you want a video turned back into a Live Photo.
What you're actually converting
A Live Photo isn't a video with a thumbnail. It's a pair of files that iOS keeps linked: a full-resolution still photo, plus a short video clip of the moment around it — roughly a second and a half before and after you pressed the shutter, so about three seconds in total, with sound.
Converting to video simply takes that second half, the clip, and writes it out as an ordinary movie file. That's why the result is short, why it carries whatever noise was in the room when you took the shot, and why it looks slightly softer than the still you're used to seeing: the video half of a Live Photo is recorded at a lower resolution than the photo half. Nothing is lost from the original — the Live Photo stays in your library exactly as it was.
Method 1: Save as Video in the Photos app
-
Open Photos and find the Live Photo
Look for the Live badge in the top corner of the image, or press and hold the thumbnail — if it moves, it's a Live Photo. Items without that badge can't be saved as video, because there's no clip attached to them.
-
Tap Share, then Save as Video
With the photo open, tap the share button (the square with an arrow). The sheet that appears shows apps at the top and a list of actions underneath — scroll that list and tap Save as Video. Depending on your iOS version the same action may live behind the three-dot menu on the photo itself instead. Either place does exactly the same thing.
-
Collect the video from Recents
Go back to your library. The newest item is your video — around three seconds long, with a duration badge instead of the Live badge. It behaves like any other clip now: you can send it over WhatsApp, upload it to a site that rejects Live Photos, or drop it into a video editor.
Method 2: Turn several Live Photos into one video
The same action works on a selection. In your library tap Select, tap each Live Photo you want, then tap Share → Save as Video. Instead of a folder full of three-second clips, iOS writes a single video with the moments joined one after another, in the order they sit in your library.
This is the quickest way to get a rough montage of a day out or an event without opening an editor. Two things to know: every item in the selection must be a Live Photo, or the action disappears from the share sheet, and you can't reorder the clips at this stage — sort that out afterwards in an editing app if the sequence matters.
Method 3: Shortcuts, for anything repetitive
If you convert Live Photos often — say you post short clips regularly — the Shortcuts app can do it in one tap from the share sheet. Create a new shortcut, set it to accept images from the share sheet, add the Encode Media action, and finish with Save to Photo Album. Running it on a Live Photo writes the clip out as a video without you touching the Photos interface.
Treat this as the power-user option rather than the dependable one: the available actions and the formats they accept change between iOS releases, so a shortcut that worked last year may need rebuilding today. When it does work, it's the fastest route there is, and it can be chained with resizing or sharing steps.
Method 4: Screen recording, the fallback that always works
If Save as Video is missing, the item came from somewhere that stripped the clip, or you want the motion exactly as Photos plays it back, record the screen. Add Screen Recording to Control Centre in Settings → Control Centre, open the Live Photo full screen, start recording, press and hold to play the motion, then stop.
You'll get a video in Photos that includes whatever was on screen, so trim the ends afterwards. Quality is a step down — you're re-recording the display rather than exporting the original clip — but it works with any item, in any app, including Live Photos sent to you in a message that won't export cleanly.
Which method should you use?
Save as Video is the right answer nearly every time: it's built in, it's instant, and it exports the original clip rather than a copy of a copy. Use the multi-select version when you want several moments in one file. Reach for Shortcuts only if you're doing this repeatedly and enjoy building automations, and keep screen recording in reserve for the awkward cases. There's no need to install a converter app for this direction — iOS genuinely covers it.
What to expect from the result
- It'll be short. About three seconds, because that's all a Live Photo holds. Nothing can extend it — the extra footage was never recorded.
- It has sound. Live Photos record audio, and the export keeps it. If you muted the Live Photo in Photos, the video comes out silent.
- It's softer than the still. The clip half of a Live Photo is recorded at lower resolution than the photo half, so don't judge the video against the crisp still you saw first.
- The original is untouched. Saving as video adds a file; it never converts or deletes the Live Photo. Delete the original yourself if you don't want both.
- It plays everywhere. That's the whole point — the exported video works on Android, on Windows, and on sites and apps that quietly flatten Live Photos to a still.
How LiveMaker fits in — and what it doesn't do
Let's be straightforward about this: LiveMaker doesn't convert Live Photos to video. It runs the other direction — it takes a video and makes a Live Photo out of it, with trimming, key frame selection, cropping and an audio on/off choice, entirely on your iPhone with nothing uploaded to a server. For Live Photo → video, the Photos app above is the tool, and it's free and already installed.
Where LiveMaker earns its place is the return trip, which iOS has no answer for at all. iOS only creates Live Photos at the moment of capture, in the Camera app — there's no way to make one from a file you already have. So the common workflow is: export a Live Photo as video, edit or crop that video however you like, then convert the result back into a Live Photo so it can be shared as one or used as a moving lock-screen wallpaper. That last step is the one that needs an app, and it's what LiveMaker does.
What it isn't: not a video editor (no filters, captions or multi-clip timelines), not a downloader, and not able to set your wallpaper for you — iOS reserves that for Settings. There's no Android version and no web version, since Live Photos are an Apple format and LiveMaker is an iPhone and iPad app. It's free to use, with a small watermark on free exports that a one-time $3.99 LiveMaker Pro purchase removes. No subscription.
Troubleshooting
There's no "Save as Video" in the share sheet
Almost always the selection contains something that isn't a Live Photo — a normal photo, a screenshot, a video. Deselect everything, pick one item that clearly shows the Live badge and try again. If that item still doesn't offer the action, the clip was stripped somewhere along the way (many messaging and social apps do this), and screen recording is your route.
The exported video is silent
The Live Photo itself was muted. Open it in Photos, tap the Live control in the corner, check that audio is on, then export again. Live Photos shot with the phone on silent still record sound, so muting is usually something that was toggled deliberately.
I got a still image instead of a video
You probably used Duplicate as Still Photo, which is a different action that throws the clip away. Nothing is lost — the Live Photo is still in your library. Go back and use Share → Save as Video instead.
The video is too short for what I need
Three seconds is the ceiling; a Live Photo simply doesn't contain more footage. If you need a longer clip, film it as a video from the start — and if you later want that video as a Live Photo, convert the video to a Live Photo rather than trying to stretch the exported one.
Frequently asked questions
Does converting a Live Photo to a video delete the original?
No. Save as Video creates a new video file in your camera roll and leaves the Live Photo exactly as it was. If you only want one of them, delete the other yourself afterwards.
How long is the video I get?
About three seconds. A Live Photo captures roughly a second and a half before and after the shutter, and the export contains that clip and nothing more — there's no way to make it longer, because the extra footage was never recorded.
Can I turn a video back into a Live Photo?
Not with iOS on its own — Live Photos are only created by the Camera app at the moment of capture. A converter app does it instead: LiveMaker takes any video from your library, lets you trim it, pick the still key frame and crop it, then saves a real Live Photo you can share or set as a lock-screen wallpaper.
Do I need to pay for an app to convert a Live Photo to a video?
No. The Photos app on your iPhone does it for free, offline, with no third-party software involved. You'd only pay for an app if you want the other direction — LiveMaker is free to use for that, with a small watermark on free exports that a one-time $3.99 LiveMaker Pro purchase removes.
Going the other way?
Turn any video into a Live Photo — free, on-device, no upload.
Download LiveMaker — FreeRead next: how to make a Live Photo from a video on iPhone, or how to set a video as live wallpaper on iPhone. All our Live Photo guides are in one place.